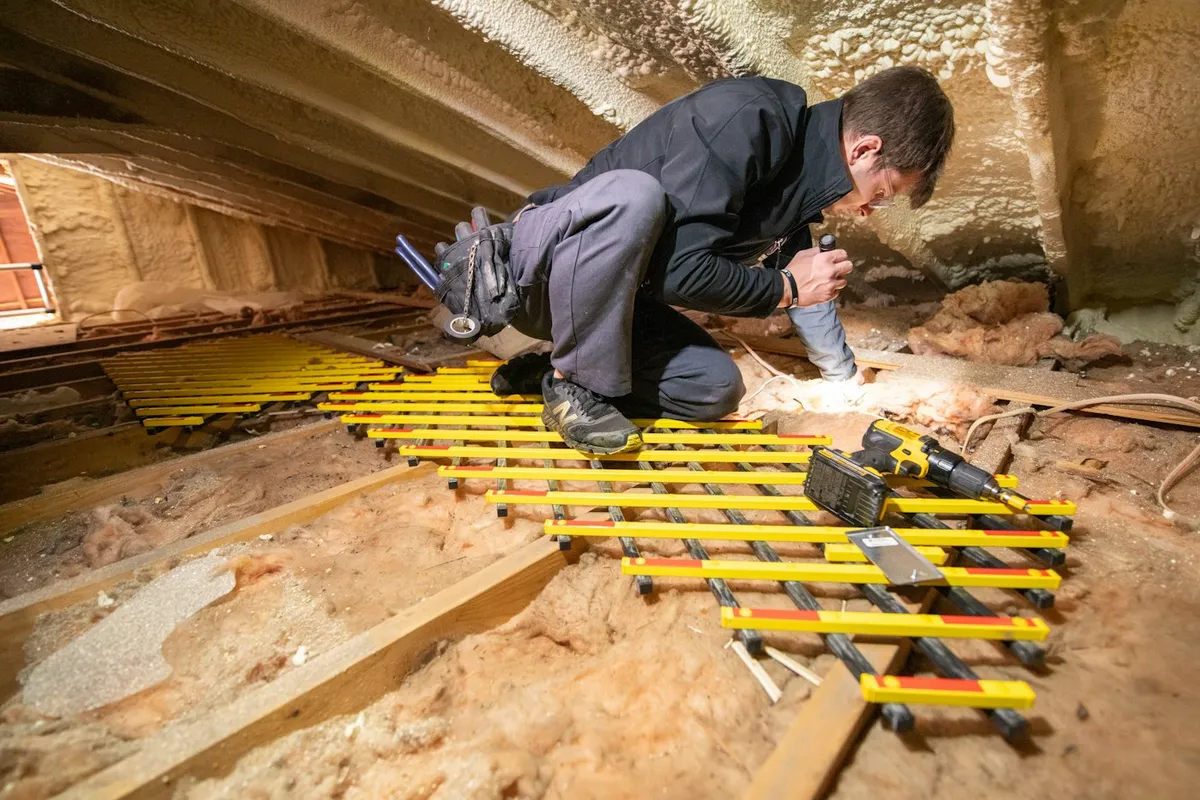
Most attic damp does not come in through the roof. It comes up out of the house, and in a surprising number of houses it comes up out of one room.
The bathroom.
How Much Water Does One Shower Release?
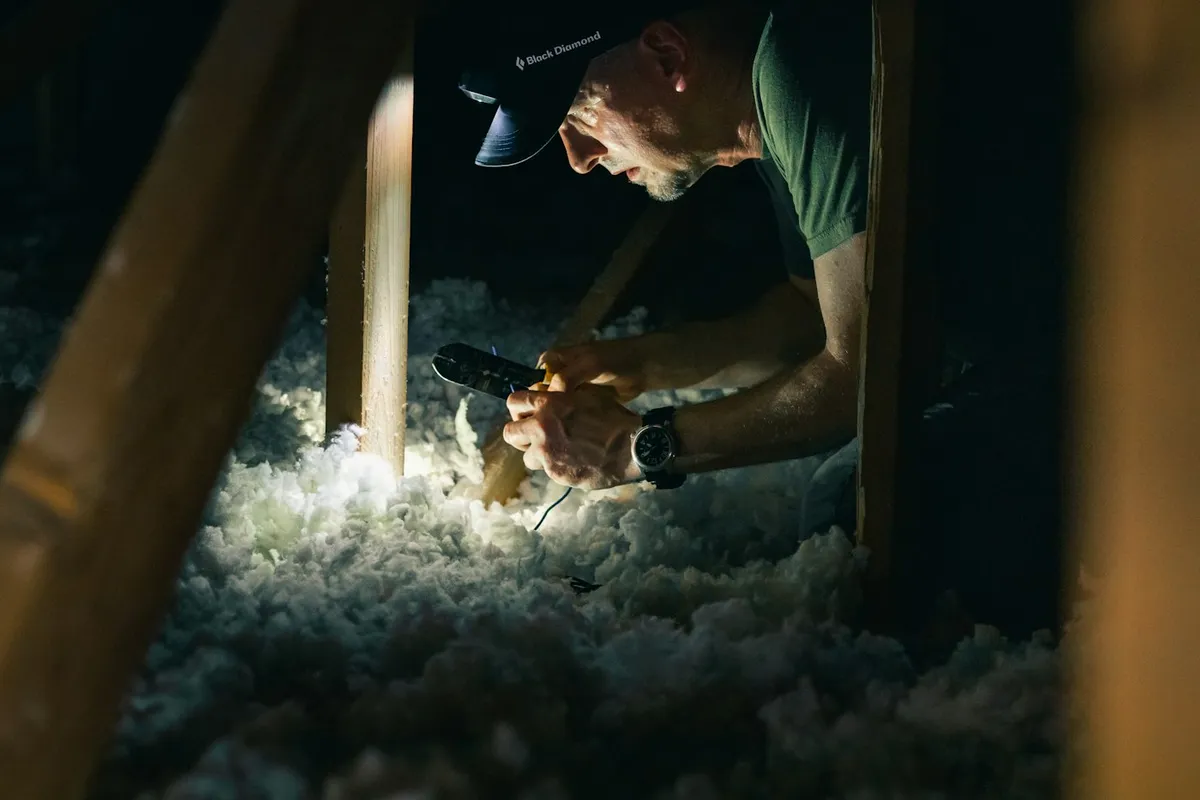
A ten-minute shower puts something like half a litre of water into the air of a small room. The extract fan's whole job is to move that outdoors. If the duct stops in the roof space, or terminates under a soffit where the vents suck it straight back in, you have built a machine that pumps warm wet air onto the coldest surface in the building twice a day.
It condenses on the underside of the roof sheathing. In a cold snap it freezes there, then melts all at once during a thaw and drips onto the insulation below, which is the version people notice, usually in February, usually as a stain on a bedroom ceiling that has nothing to do with the bathroom.
It gets misdiagnosed as a roof leak all the time, and the tell is simple: it never rains on the days it drips.
Why Does Adding Insulation First Make It Worse?
Here is the part that catches people out, and it's the reason this post exists rather than a general "add more insulation" piece.
Pile loose-fill cellulose to R-60 over an attic that still has an unsealed, unsloped bath duct in it and you've made the duct colder, not warmer. You've also made the ceiling below it a better air barrier in one sense, which raises the pressure difference driving house air up through every gap you didn't seal: the light fittings, the loft hatch, the plumbing penetrations.
In a GreenBuildingAdvisor thread, a homeowner in Vermont, climate zone 6A, laid out exactly this situation: R-60 target, roughly 17 inches of cellulose, and the bath duct left with only 4 to 5 inches of cover over it, which is about R-13 to R-15. The expert answers agree that burying the duct in cellulose is enough on its own, and that spray foam is not needed. Bill Wichers says there's "no need for spray foam here." Dennis Wood would rather add two inches of foam first and bury that, which is belt and braces on the same idea.
What nobody in that thread treats as optional is the sealing and the slope. That's the tell: the insulation strategy is downstream of the duct detail, not a substitute for it.
What Order Should the Work Go In?
Four steps, in this order, and skipping to step four is the mistake.
One: fix where the duct ends. Fine Homebuilding's guidance is to take it to the nearest gable wall, or a roof vent on a hip roof. Not the soffit. Moist air leaving a soffit vent gets pulled back into the attic through the soffit vents two feet away, which is a closed loop with your bathroom at one end.
Two: get the geometry right. Rigid galvanised duct, not flex. Rise vertically to an elbow, then slope continuously downhill to the termination, so any condensation that does form drains outside instead of running back into the fan. Support it with hangers or stiff wire so it can't sag into a low spot, because a sag is a water trap and, on a long run, an ice plug. Joints get sheet-metal screws; Fine Homebuilding notes you don't need mastic on an exhaust duct, though if you do use mastic the GBA advice is to apply it "nickel thick", a little over a sixteenth of an inch.
Three: air seal the ceiling plane. Every penetration in the ceiling below the attic, including the fan housing itself. This is the step that gets skipped because it's tedious and invisible, and it's the one doing most of the work.
Four: then insulate. Bury the sealed, sloped duct under the loose-fill and take the whole attic floor to your target depth. Cover the fan housing too, unless the attic is spray-foamed, in which case build an airspace box around it out of rigid foam.
Which Two Cheap Habits Do More Than You Would Expect?
Run the fan for a few extra minutes after you get out. Fine Homebuilding is blunt about why: it keeps the ductwork dry. A time-delay switch costs less than a bag of cellulose and means nobody has to remember.
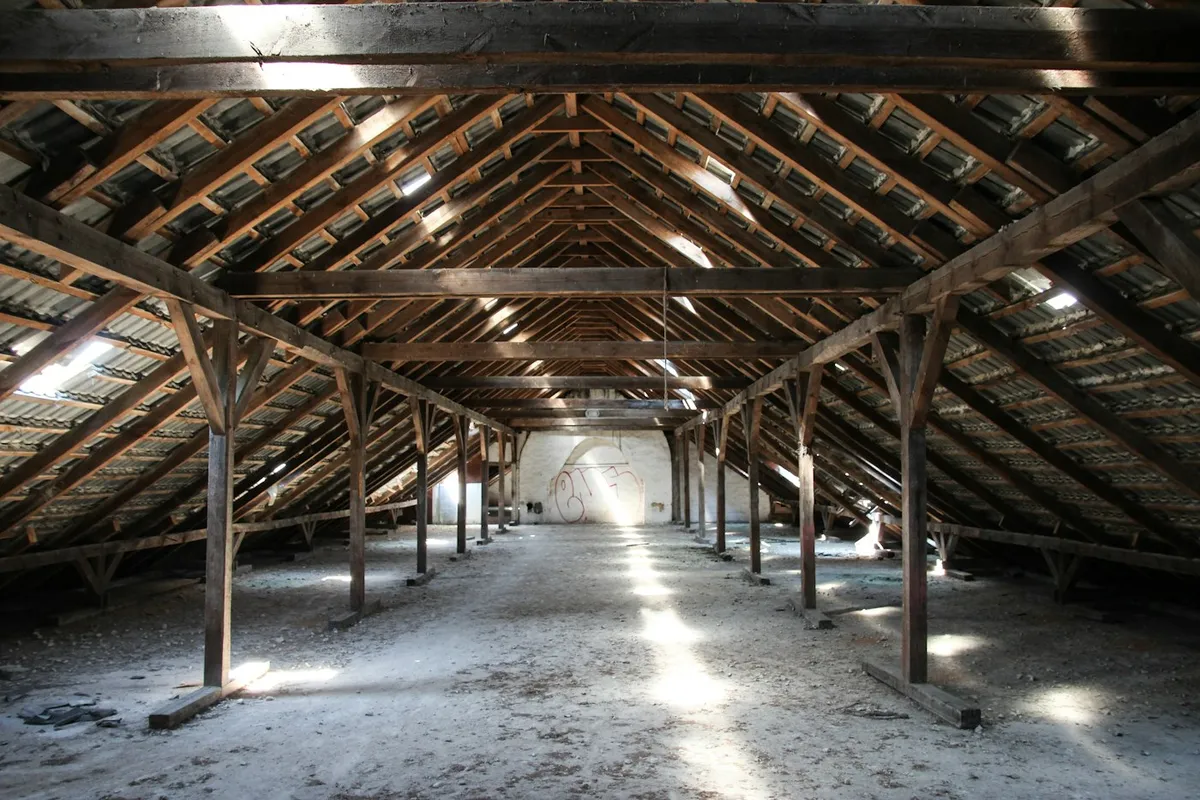
And go and look. Once, in January, with a torch, at the underside of the sheathing directly above the bathroom. Frost or dark staining in that one patch and nowhere else tells you the whole story before any of this costs you money. If the staining is general across the whole attic instead, you have a ventilation problem rather than a bathroom problem, and that's a different job.
Where Does This Sit Against the Rest of the House?
The logic here is the same one that governs basement insulation: insulation manages heat, and it does nothing about water except decide where the water ends up. Get the moisture route right first, then insulate. Do it in the other order and the insulation is the thing that fails, which is an expensive way to learn the sequence. Old stone foundations make the point harder still, as insulating an old basement shows.
Same thinking applies to anything else running through the space. If you have supply ducts up there, insulating the attic ductwork is the parallel job, and it has the same failure mode: a cold duct in a warm humid airstream is a dehumidifier you did not ask for. Once the duct is sorted and you want a price for the insulation itself, the attic insulation cost calculator compares bags against a crew and flags this bathroom check first.
My opinion, and plenty of contractors will disagree: I'd rather spend a Saturday on air sealing and forty dollars of rigid duct than another six inches of cellulose. The six inches is easier to sell and easier to photograph. The Saturday is what stops the ceiling staining.