Why Does a Basement Wall That Looks Right Rot?
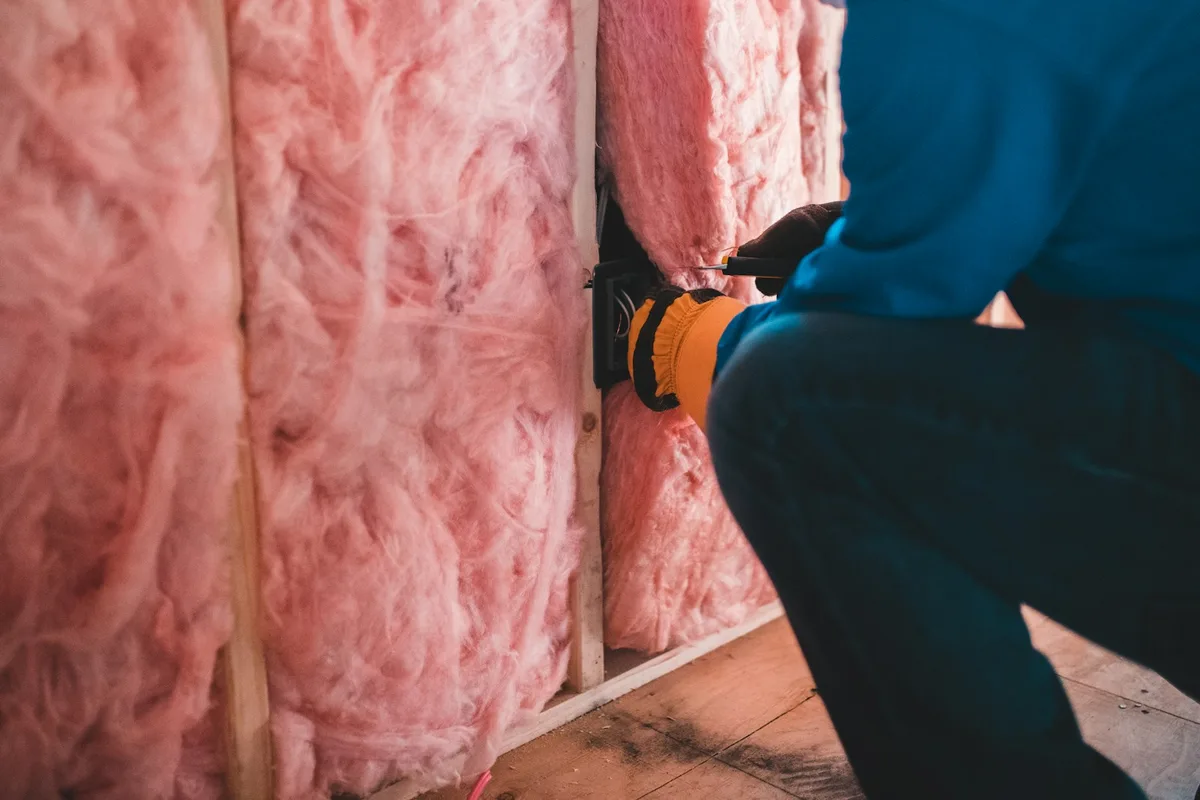
Here is the basement wall almost everyone builds. Stud frame against the concrete, fibreglass batts in the cavity, sheet of polythene stapled over the front, drywall on top. Tidy, warm, and exactly the arrangement that will grow mould where you cannot see it.
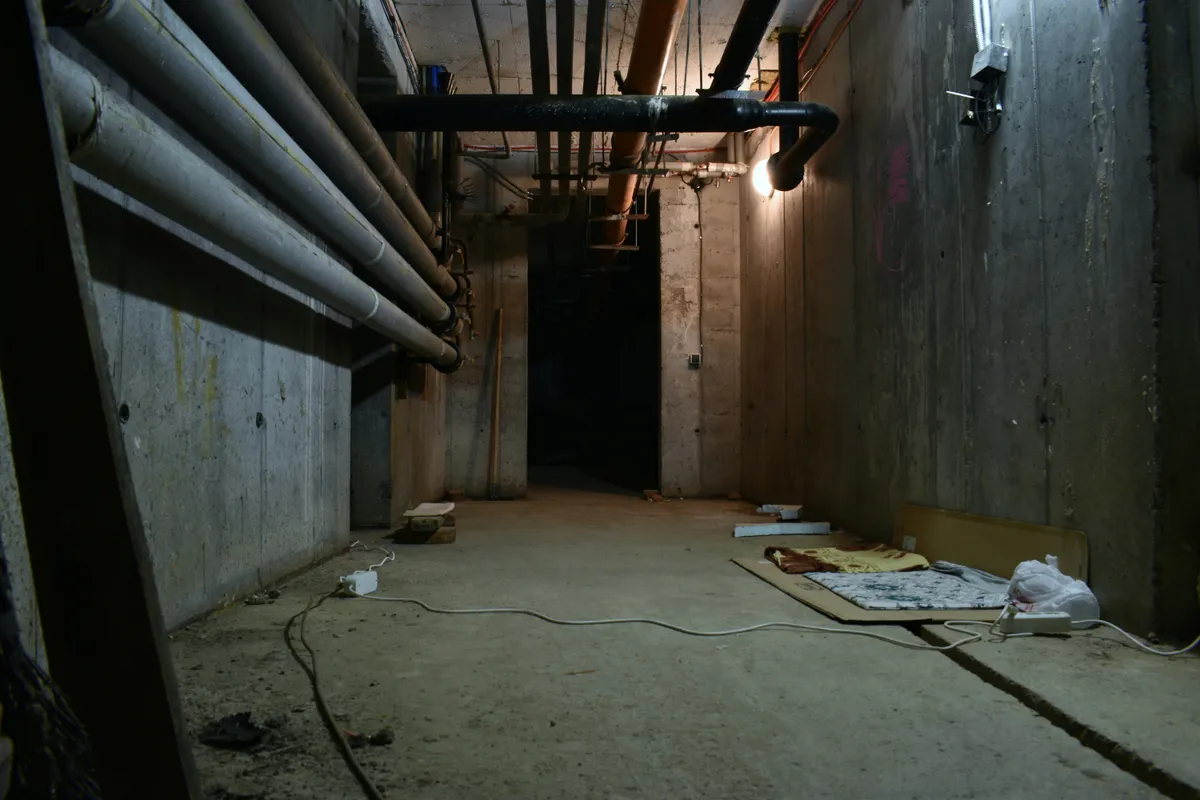
The problem is that concrete is never dry. A foundation wall wicks moisture out of the ground continuously, and it always will, however good your damp proofing was in 1962. That moisture has to go somewhere. Put a plastic sheet on the warm side of fibreglass and you have given it nowhere to go except into the insulation and the timber.
The guidance from Building Science Corporation is unambiguous on this, and PNNL's Building America guidance agrees: don't put a vapour retarder over permeable insulation on the inside of a foundation wall. What you get instead is condensation inside the cavity, mould in the batts, and rot in the studs, none of which announces itself until you open the wall for something else entirely.
Why Does Fibreglass Make It Worse?
Fibreglass does not stop air. It slows heat, and that is all.
Warm indoor air drifts through the batt, reaches the cold concrete behind, and condenses there. If the front is sealed with polythene, that condensation cannot dry inwards. It sits against the wall, soaks the fibres, and destroys the insulation value you paid for while it works on the framing.
This is why the assembly fails even in houses with no visible damp problem. Nothing is leaking. The water is coming out of the air.
What Actually Works in a Basement?
The building science answer is consistent across the Department of Energy, PNNL and BSC, and it inverts the usual order:
- Put foam directly against the concrete. Rigid foam board or spray foam, in contact with the wall, sealed at the joints and around the perimeter.
- Frame in front of the foam, not against the concrete.
- If you fill the stud cavity, use unfaced fibreglass or damp-spray cellulose.
- Do not install a vapour barrier on the interior face. None. That is the part people find hardest to accept.
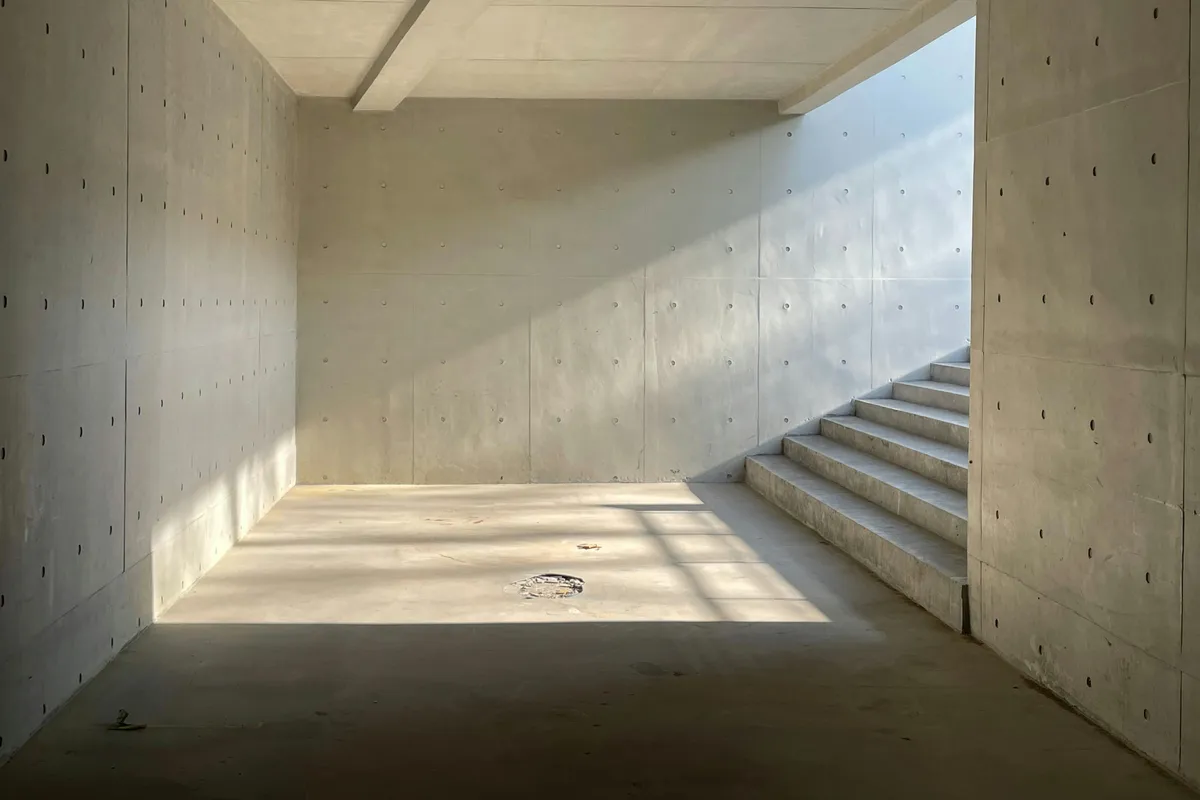
The principle underneath it: keep the cold, wet concrete on the outside of your insulation, and let the whole assembly dry towards the room. That ordering rule is specific to below-grade walls, incidentally. Up in the roof space the moisture moves the other way, so attic duct insulation follows a different set of instructions and a vapour retarder there is not automatically a mistake.
For that drying to happen, the foam layer has to breathe a little. BSC gives the numbers: the foam should be vapour semi-impermeable at greater than 0.1 perm, semi-permeable above 1.0 perm, or permeable above 10. A completely impermeable layer swaps one trap for another.
Does the Order Matter More Than the Product?
| Layer, outside to inside | Do | Do not |
|---|---|---|
| Against concrete | Rigid or spray foam, sealed | Timber frame, fibreglass, or nothing |
| Stud cavity | Unfaced fibreglass or damp-spray cellulose | Faced batts with a vapour barrier |
| Interior face | Drywall | Polythene sheet |
Read that table twice, because the mistake is almost never the material. It is the sequence. The same fibreglass that fails in the usual build works fine when it sits inside foam rather than against concrete, and the same polythene that ruins a basement is entirely appropriate under a slab.
What Should You Check Before You Insulate?
Insulation does not fix water. If you have liquid water arriving, from a failed gutter, bad grading, or a cracked wall, sealing foam over it hides a problem instead of solving one, and you will find out in three years.
Deal with the outside first:
- Gutters and downpipes discharging well clear of the wall.
- Ground sloping away from the house for the first couple of metres.
- Any active crack or seepage repaired before anything covers it.
Then insulate. In that order, and not the other way round, however tempting it is to start with the part that makes the room warmer this winter.
Is This a Job to Hire Out?
Rigid foam board on a straight wall is genuinely a competent DIY job. Cutting boards to fit, sealing joints with the correct tape, and building a frame in front of it are all ordinary skills, and the material is cheap enough that a mistake costs a Saturday rather than a fortune.
Spray foam is not. It needs the right conditions and the right equipment, it is unforgiving about temperature, and getting the thickness wrong changes the physics of the assembly rather than merely looking untidy. If you are still choosing between the two, the XPS vs spray foam comparison sets perms, water uptake and installed cost side by side.
My own line: board yourself, spray hired out. And if the basement has ever had standing water, get somebody to look at why before you insulate at all. And if the wall is fieldstone or rubble rather than poured concrete, insulating an old basement follows a different order of work.
Once the walls are done and the space is genuinely usable, the late summer maintenance checklist covers the seasonal jobs that keep the rest of the house from undoing the work, gutters very much included.
The same physics runs the other way up the house, and it fails the same way. Rigid foam on the outside of a wall either keeps the sheathing dry or seals water into it, and which of those you get comes down to a handful of details: exterior wall insulation and its faults is the above-ground half of this argument.
The uncomfortable part of all this is that the wrong assembly performs perfectly for the first couple of winters. It is warm, it is quiet, and nothing smells. The failure is slow and hidden, which is exactly why the detail is worth getting right the first time rather than discovering it when you finally open the wall.
If I had to reduce all of it to one instruction, it would be this: decide which direction the wall is allowed to dry in, write it down, and refuse to install anything that contradicts it. Nearly every failed basement wall I've read through comes back to somebody skipping that sentence.