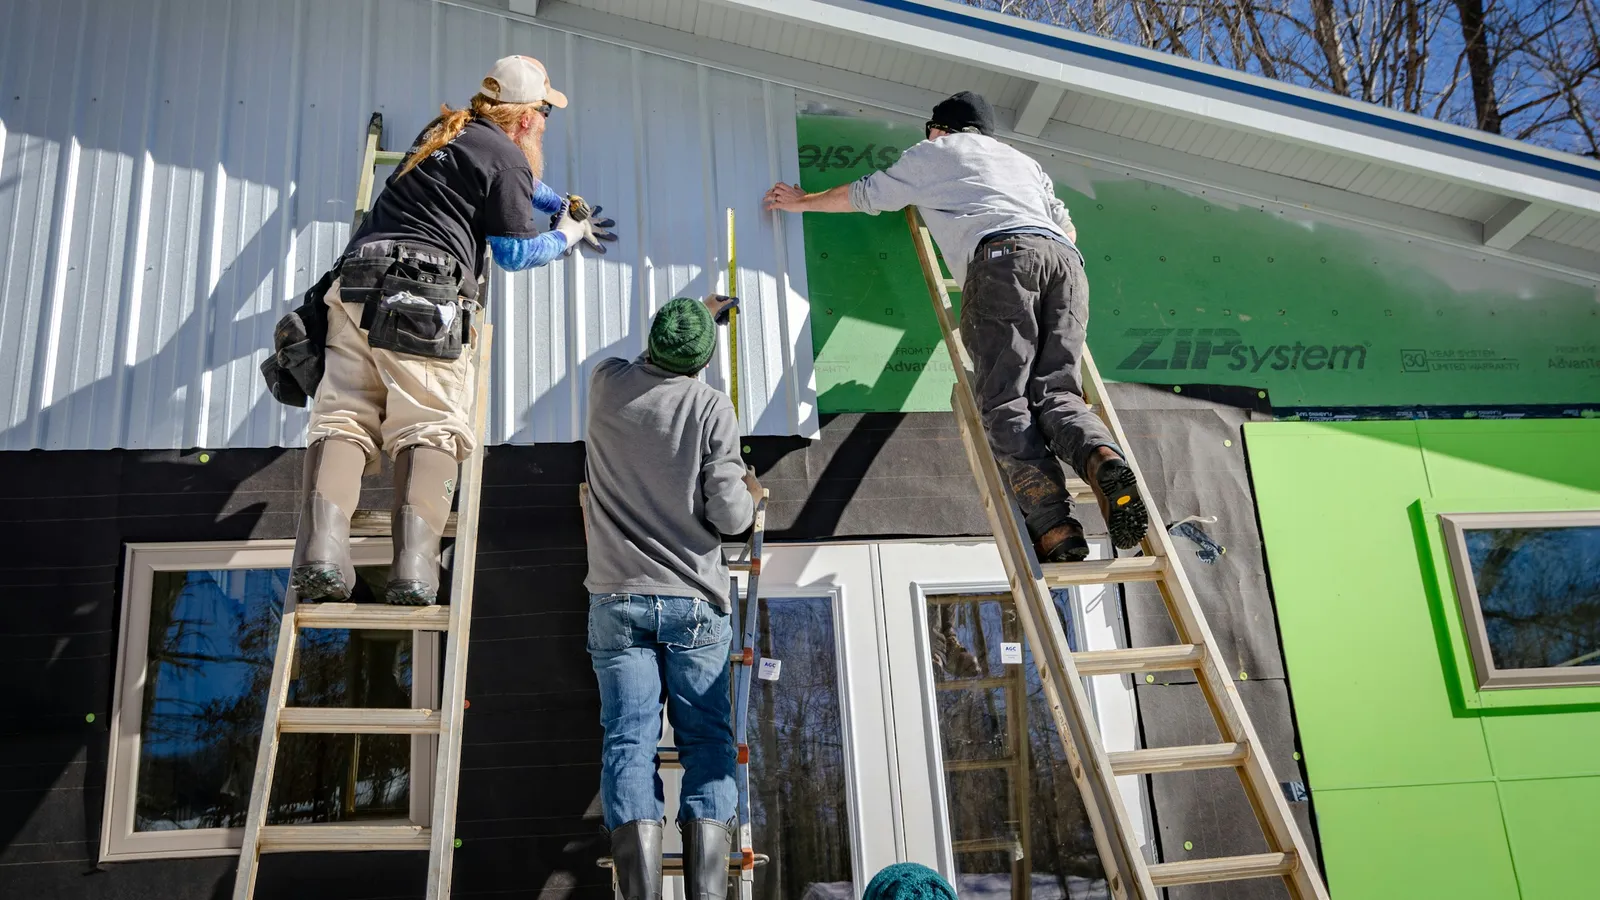
Exterior foam fails in two completely different ways, and they get lumped together under "moisture problems" as if they were one thing.
The first is the ratio failure: not enough continuous R-value outside the sheathing for the climate, so the sheathing runs cold and condenses indoor moisture. That one is an arithmetic problem, and our post on the five faults of exterior wall insulation covers it, together with double vapour barriers and thermal bridges.
This post is about the second kind. A gap. A seam nobody taped, a bottom edge left open to the splash zone, a window buck with a corner that leaks, a soffit the foam never reached. The R-value can be perfect and the wall still rots, because the assembly was designed to have no air or water path through it and now it has one.
Where do these gaps actually occur? Five places, over and over. I have not opened up a failed wall myself, so what follows is a compendium: the Building America Solution Center guides (a US Department of Energy programme run from Pacific Northwest National Laboratory), Building Science Corporation's digests, Green Building Advisor's long argument about windows, and the International Residential Code. Where a number appears, it is theirs, and I say whose.
Why a Gap Beats a Thin Spot
Insulation that is too thin lets heat through everywhere, a little. A gap lets air through in one place, a lot.
That matters because moving air carries water as well as heat, and it delivers it to one spot. Building Science Corporation's moisture control digest (BSD-012) treats lumber above 19 percent moisture content by weight as wet, and relative humidity above 70 percent at a surface as the condition mold needs. A quarter-inch crack in a taped foam plane, in a heated house in January, moves warm indoor air to the back of a cold board all night. How much air does it take? Not much, and it doesn't stop.
And foam has no forgiveness built in. A fibreglass wall with a leak dries outward. A foam wall with a leak dries slowly or not at all, which is the whole reason the drainage detailing has to be right.
So the question for each gap below is not just "where is it" but "where does the water it lets in go afterward". If the answer is nowhere, that is the one to fix first.
Gap One: Seams That Were Never Taped
Rigid foam boards are not a water barrier. The Building America Solution Center is blunt about this: foam becomes a drainage plane only when the seams are taped, and only when the tape is the right kind, applied the right way.
The common DIY version is a wall of boards butted together, a few seams taped with whatever was on the truck, siding on top. Looks finished from the street, doesn't it? Inside the wall, every untaped joint is a channel, and wind-driven rain finds it at the first storm.

Which tape, where
The BASC guide on taped insulating sheathing splits the job in two. Vertical joints take an acrylic-adhesive sheathing tape at least 3 inches wide, with 4-inch widths available and recommended. Horizontal joints are the high-risk ones, because water sits on them, so they get a butyl-adhesive flashing tape, 6 to 9 inches wide and not more than 20 mil thick, lapped so that roughly two thirds of the width is on the upper board and the rest laps down over the lower one. Gravity does the rest. Thick butyl gets a thin termination strip across its top edge so the leading edge cannot peel.
Foil tape? The guide says to avoid it: it rips and wrinkles. The surface has to be clean and dry, the outdoor temperature above 15 F, and the tape rolled on, not thumbed. A fish mouth in the tape is a gap with better branding.
For the boards themselves, the BASC existing-walls guide says butt the joints tight, and if you are using two layers, offset the seams in both directions so no joint in one layer lines up with a joint in the other. The outer layer should be foil-faced polyiso or XPS at least 1 inch thick. EPS is not recommended as the outermost layer.
If you're repairing an existing job, the honest answer is that you can't tape through siding. You can pull a few courses at the worst spots, tape what you expose, and put the siding back. Whether that is worth doing depends on the next three gaps.
Gap Two: The Bottom Edge
Walls fail from the bottom up, because that is where the water ends.
The BASC guide on flashing the bottom of exterior walls asks for an 8-inch minimum between the siding and grade, so splash-back from rain hitting the ground does not soak the lowest boards. Below the foam, a base flashing with a drip edge directs whatever ran down the drainage plane away from the foundation instead of behind it. Where flashing comes in pieces, they overlap at least 8 inches.
Two more things live at the bottom edge and both get skipped.
The first is an insect screen. If there is a drainage gap behind the siding (there should be, see gap five), it is open at the bottom, and open means open to wasps and mice as well as water. BASC says to screen it with nylon, not metal, because metal mesh rusts. The continuous-insulation guide puts screen at both the top and the bottom of the furring strips.
The second is termites. IRC section R318.4 says that in areas where the probability of termite infestation is "very heavy", foam plastics may not be installed on the exterior face of foundation walls below grade, and the clearance between any above-grade foam and exposed earth "shall be not less than 6 inches". The exceptions are structures of non-combustible or pressure-treated framing, approved protective methods, and foam on the interior side of basement walls. The reason is not that termites eat foam. It is that foam hides their tunnels from the person doing the annual inspection. Check your own jurisdiction's map before deciding this does not apply to you; a lot of the southern United States is in the "very heavy" band.
Does your foam run down to the dirt? Then it is both a code problem and a water problem, and it is the first thing I would check on any house where the foam went on after the house was built, because nobody planned the grade clearance for it.
Gap Three: Windows and Other Holes
A window in a foam-sheathed wall is a hole with eight corners instead of four, and every extra corner is a place for flashing to go wrong.
Green Building Advisor's long-running discussion of "innie" versus "outie" windows is the best thing written on this. With 4 inches of foam, the window can sit at the sheathing plane (an innie) or be brought out to the siding plane on a plywood buck (an outie). The example buck in that discussion is 8 3/4 inches deep. Martin Holladay's view is that outies are usually easier, because the flashing is two-dimensional: Z-flashing or tape on the face of the foam, same as any wall. Innies need three-dimensional flashing at the jambs and sill, with what one commenter counted as eight additional triple points, each a 3D corner that has to be made watertight by hand.
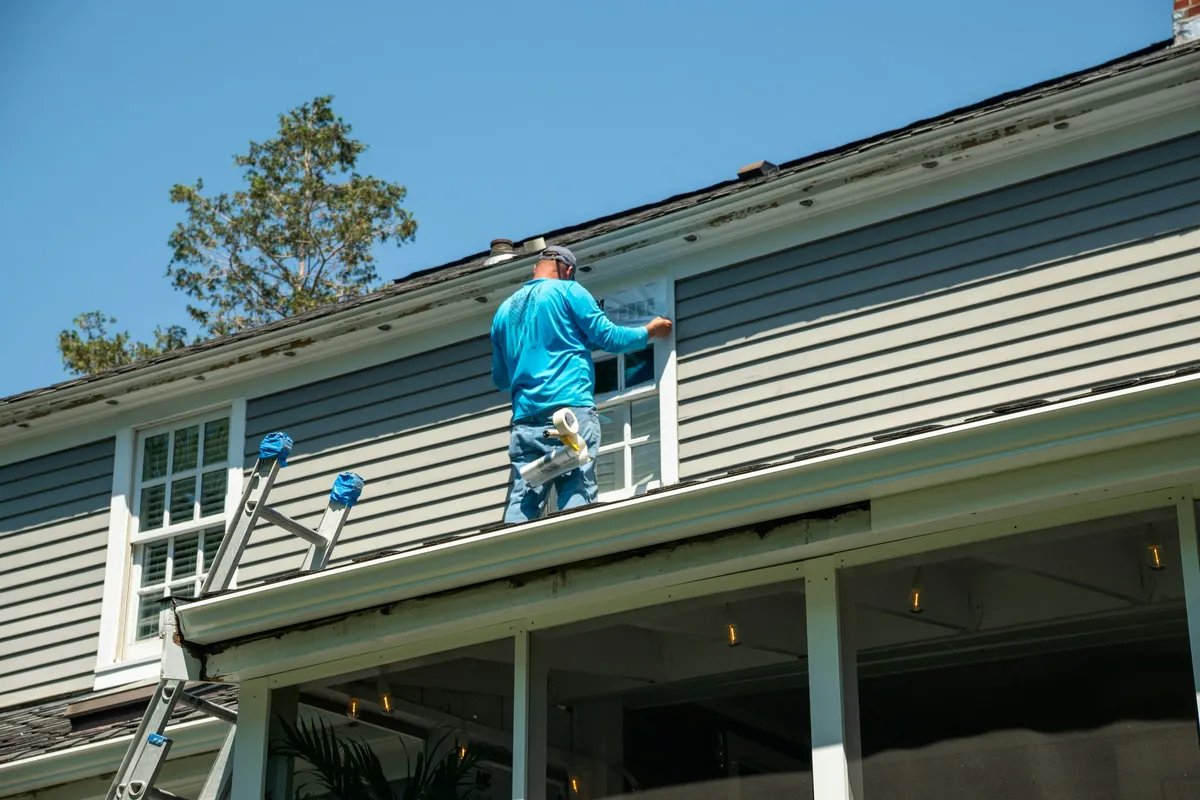
Where the housewrap goes follows from that choice, and GBA's companion piece says so plainly: innie windows want the housewrap under the foam, outie windows want it over the foam, so the window flashing lands on the drainage plane instead of a layer away from it. A wall where somebody chose innies and then wrapped over the foam has a gap at every window that no amount of tape on the outside will reach.
The trade-off GBA records is worth knowing before you pick. One builder reported frost forming on the inside of outie windows at temperatures below minus 25 F, where inset windows stayed clear. If you are in that climate, the easier flashing comes with a condensation bill.
Hose bibs, dryer vents, light fixtures and the electrical mast are smaller versions of the same problem. Each one is a hole through the taped plane. The BASC taping guide lists "fully flashed window and door openings" and penetrations as the places the drainage plane has to be integrated, which is a polite way of saying a tidy wall with an untaped dryer vent has a gap. How many of those penetrations did the installer actually tape? On most walls I'd bet on fewer than all of them.
Gap Four: The Top of the Wall and the Soffit
This is the one that started this post, because it is the one that gets asked about most and fixed worst.
The wall foam runs up and stops at the top plate. The attic insulation above is at its thinnest right there, because a standard truss is only a few inches tall at the heel. Between the two sits a cold triangle, and the soffit vent blows outdoor air straight across it all winter. From inside, you feel it as a cold band along the ceiling edge of the upstairs rooms, sometimes with a dark line of mould in the corner.
The Building America Solution Center's continuous-insulation guide says the rigid foam should "extend up to the underside of the roof truss", and that it "can extend above the top plate (notch around the roof trusses) to act as a wind shield for the attic insulation". That second sentence is the whole fix. The foam becomes the dam, and the dam doesn't care how thin the attic insulation is right behind it.
On the attic side, the BASC eave guide asks for baffles and soffit dams at every rafter bay, so the insulation can come all the way over the plate without choking the vent, and quotes ENERGY STAR's floor of R-21 over the top plate in climate zones 1 to 5 and R-30 in zones 6 to 8. On a new build, a raised-heel truss gives you 16 inches of room to do that. On an existing house you work with the heel you have, which is why the baffle matters more than the R-value: a compressed R-30 over a plate with wind blowing through it performs like nothing.
Don't block the soffit vent to stop the draught. Our post on attic moisture over the bathroom explains why a vented attic needs that air path; closing it trades a cold corner for a damp roof deck.
A hand-wide gap at the soffit does more damage than an inch of missing R-value across the whole wall, and it costs a baffle to fix.
Gap Five: The One You Actually Want
Four gaps that hurt. One that helps, and it is the one most DIY jobs leave out.
Joseph Lstiburek's Building Science Insight on this is literally titled "Mind the Gap, Eh!", and the gap he means is the space between the back of the siding and the face of the drainage plane. It does three jobs: it drains, so water that gets past the siding runs down and out instead of being pushed through fastener holes; it ventilates, so both the siding and the sheathing can dry; and it lets moisture redistribute sideways instead of pooling. His line on OSB, which handles moisture worse than plywood, is that "with an air gap we can compensate".
How big? Lstiburek calls 3/8 inch "very, very conservative" and notes that 1/16-inch draining housewraps work. The BASC flashing guide gives per-cladding numbers: an inch or more behind brick or stone veneer, 3/4 inch behind stucco, 1/16 inch behind lap siding.
In practice the gap is made by furring strips over the foam. What do the strips have to get right? The BASC existing-walls guide lists it:
- Vertical orientation only, so the gap drains instead of ponding on a horizontal strip.
- 1x4 furring is recommended.
- Space the fasteners so no single one carries more than 10 pounds of cladding.
- Fastener length is the foam thickness plus enough to bite the stud by at least 1 inch for foam up to 1 inch thick, and at least 1 1/4 inches for foam between 1 1/4 and 1 1/2 inches.
- Cap nails or screws with roofing washers hold the boards until the furring goes on; they are not the final attachment.
Siding nailed straight through the foam into the studs, with no strip and no gap, is the version most retrofits end up with. It is the cheapest by a long way, which is why the cost breakdown for exterior foam treats furring as a line item people cut and then regret.
How to Find Them Before You Open Anything
You don't have to guess. Which tool first? The cheap one, then the next, so three tools in order of cost.
Your hand, on a cold windy day. Run it along the inside of the ceiling perimeter upstairs and around window trim. A draught at the ceiling edge is gap four. A draught at a window jamb is gap three.
A thermal camera, or a phone attachment that does the same job, on a morning with a real temperature difference between inside and out. Studs show as faint stripes; that's normal. A cold wedge along the top of the wall is the soffit gap. A cold halo around a window is a flashing or buck problem. A cold streak running vertically between studs, where nothing structural is, is an untaped seam letting air through.
A pin moisture meter, pushed into the sheathing or framing through the smallest opening you can make: an outlet box with the cover off, a vent penetration, a cut behind a piece of trim you can replace. The BSC digest's 19 percent is your line. Under it, the gap has been costing you heat. Over it, in late winter, the gap has been costing you the wall.
What about the drainage gap behind the siding? Look at the bottom course. If you can see daylight or a screen behind it, there is a gap. If the siding sits flat and tight on the foam with caulk along the bottom, there isn't, and caulk is the tell: somebody sealed shut the opening the wall needed.
What I'd Do First
If you have all five, the order is: bottom edge, soffit, windows, seams, and only then think about the drainage gap, because the first two are cheap and the last one means pulling siding.
My own view, for what it is worth as someone who has read every one of these guides rather than lived through a failed wall: a DIY exterior foam job without furring strips is a job I would not start. The strips cost less than the tape does. What they buy is a wall that forgives the seam you missed and the window corner you flashed badly, and on a project with this many corners, everyone misses one.
If the wall is already up without them, don't panic and don't tear it off. Fix the bottom edge and the soffit this autumn, meter the sheathing in February, and let the number tell you whether the rest is urgent. It is the same logic as the basement wall that traps moisture: find out whether the assembly can dry before deciding how much of it to replace.